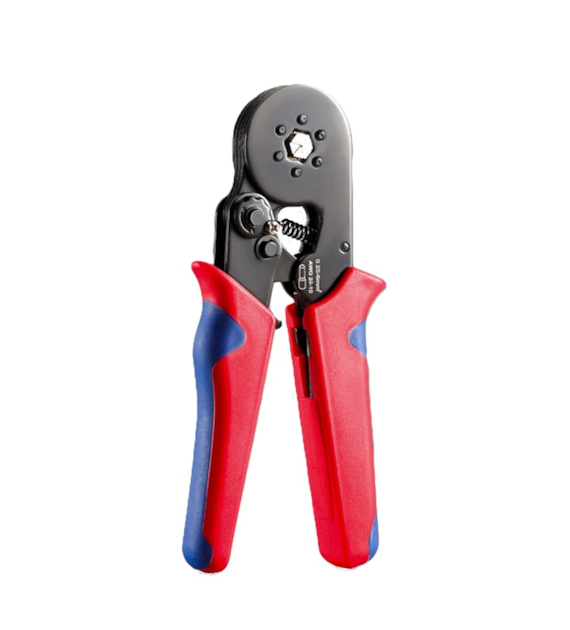
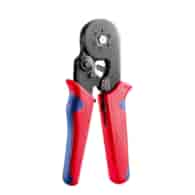
automatically adjust to the cross-section of the wire
Safety declarations:
CE
Application:
Ideal for electricians, installers, and DIY enthusiasts for work related to:
electrical installations
control cabinets
servicing electrical devices
assembly work in workshops and production plants
How to use the HSC8 6-6 crimping tool
1. Preparing the wire
Cut the wire to the appropriate length.
Remove insulation from the end of the wire (approx. 8–10 mm) using a wire stripper.
Check the strands – they should be evenly arranged and undamaged.
2. Installing the sleeve
Choose the appropriate insulated sleeve matched to the cross-section of the wire.
Slide the sleeve onto the stripped end of the wire until it stops.
Make sure all strands are inside the sleeve and not protruding.
3. Crimping
Open the crimping tool by pressing the handles.
Place the sleeve in the jaws of the crimping tool – the tool will automatically adjust to the size of the sleeve.
Insert the wire into the sleeve.
Crimp the handles until the tool's ratchet mechanism releases itself.
Remove the wire – the sleeve should be tightly crimped, with no slack.
4. Quality control
Visually check if the sleeve is evenly crimped.
Gently pull the wire – it should not come out of the sleeve.
If necessary, repeat the process with a new sleeve.
We have made every effort to ensure that the above data is correct, but we do not guarantee that the published information does not contain errors, which cannot, however, constitute the basis for any claims..